As part of the Scripps Florida grand opening celebration in 2009, the volunteer robotics team at Scripps Florida was tasked with repurposing a laboratory robot for use as demonstration unit and an Educational Outreach platform. This volunteer team consisted of Lina DeLuca, Dr. Louis Scampavia and myself. The goal of this project was to create a hands-on robotic system which could be used to showcase the unique technology used in the drug discovery process and more generally, to generate interest in science and engineering.
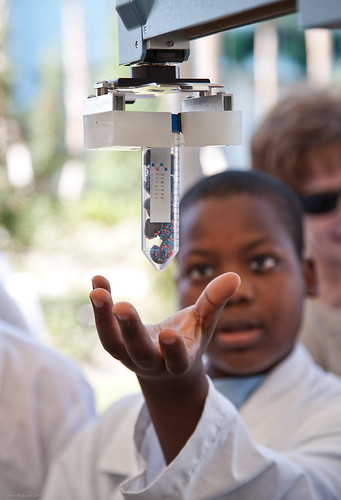
A Zymark Twister II robot arm was used for the project, which was previously used to move labware between various scientific instruments in the High Throughput Screening laboratory. After a bit of brainstorming, the team decided that the robot would be used as part of an interactive display and should be specifically configured so that someone with no knowledge of robotics would be able to walk up to the system and interact with it. As a tie-in to the grand opening ceremony, it was determined that the end result of the interaction would be the robot giving the user a test tube filled with candy.
This project involved a number a technical challenges which had to be addressed for it to work:
- How to modify the robot to handle test tubes filled with candy instead of microtiter plates?
- What control system should be used to interact with the robot?
- How do we program an out-of-warranty robot that we have no documentation for and which the vendor will not support?
These challenges were addressed as follows:
Gripper Modification
The main obstacle which was not related to any programming task was how to make a robot that is built for handling one type of object (microtiter plates) handle something else (test tubes). The fingers on the robot gripper were not thick enough to grasp the tubes when the gripper closed, so modifications were needed. A custom gripper was designed, fabricated, installed and tested to ensure test tubes could be retrieved from storage points and delivered to the user without becoming stuck or dislodged in transit.
Control system
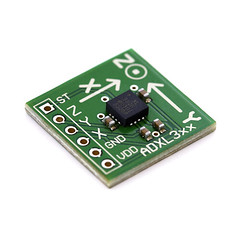
After considering a variety of control mechanisms and user interfaces, we settled upon the idea of using an accelerometer based remote control (Nintendo Wiimote) to control the robot in real time. Fortunately, Microsoft’s Coding4Fun (http://blogs.msdn.com/b/coding4fun/) blog had published a Wiimote managed library (http://wiimotelib.codeplex.com/) which simplified the task considerably.
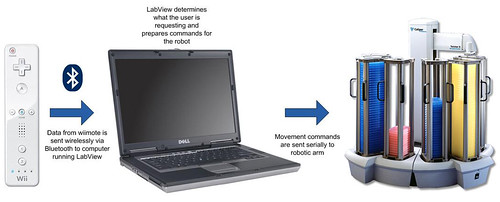
The image below illustrates how Wiimote signals would be sent wirelessly via Bluetooth to a control computer running NI LabView, which would then process the input and send movement commands serially to the waiting robot.
Programming the system
As a second stroke of good luck, it turned out there was a National Instruments LabView interface available (http://decibel.ni.com/content/docs/DOC-1353) which made use of the Wiimote managed library. With all of this code in hand, the last remaining hurdles were to build the logic to handle control input in LabView and program the system to output robotic commands via RS232.
Initially without any supporting documentation, it was not clear how best to manage robot communications. As one final bit of good fortune, we happened upon a Journal of the Association for Laboratory Automation (JALA) article by David S. Pechter titled ‘Controlling a Twister II with VBA and the Zymark ZyRobot ICP‘ which described how to communicate with the Twister via the provided ActiveX library in Visual Basic (http://www.jalajournal.com/article/S1535-5535%2804%2900227-8/abstract). With the provided examples, we were able to build a similar control system in LabView.
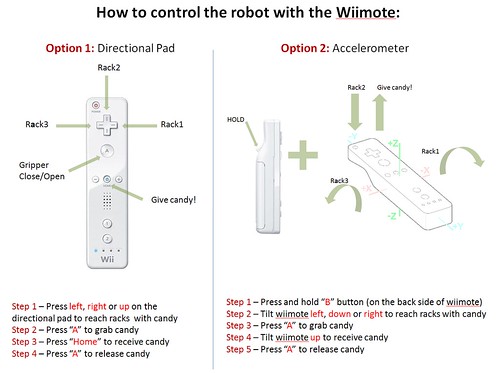
After a bit of testing with the Wiimote and robot, a control scheme was chosen as seen in the image below. This would allow users to control the robot using either the accelerometer control in the Wiimote or the D-Pad.
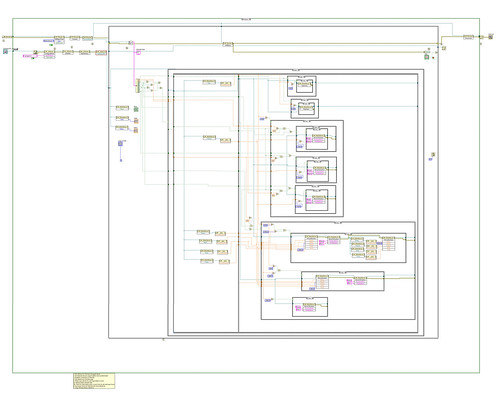
With the Wiimote libraries in hand, the control scheme defined and robotic communication working, it was time to tackle the control logic. The resulting program is as seen in the block diagram below.
ScrippsBot LabView control block diagram (click to see full-size image on Flickr)
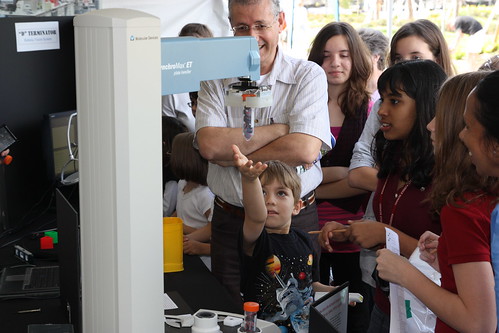
Over a two year span since it was first programmed, hundreds of people have had an opportunity to interact with the ScrippsBot. Happily, the system has worked quite well and has hopefully inspired a few future engineers and/or scientists!
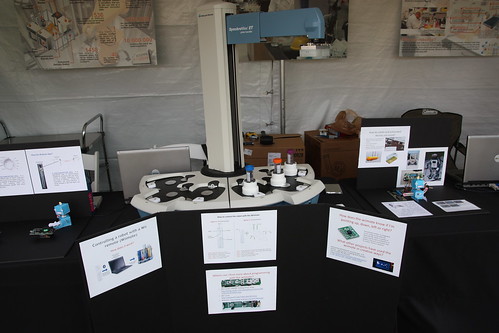
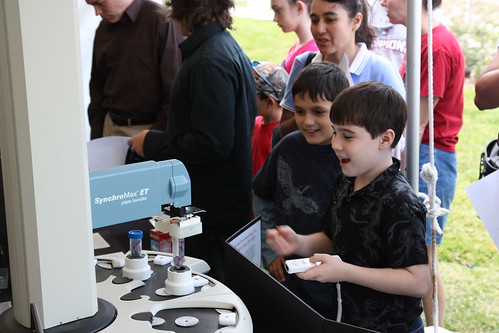
ScrippsBot setup at the robotics booth
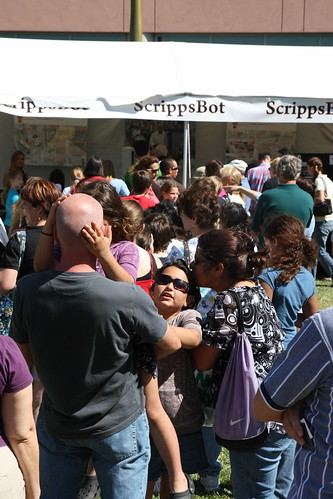
The line of people waiting to use ScrippsBot at the 2009 Scripps Florida Grand Opening
The first year it was on display (2009), ScrippsBot made the local newspaper:
http://www.palmbeachpost.com/localnews/content/local_news/epaper/2009/02/28/scripps_030109.html
The second year it was on display (2010), ScrippsBot made the local news!
And finally, a video of the ScrippsBot in action at the Education Outreach event in 2010 at the Gardens Mall.



Very cool project! It’s great to see LabVIEW being used as part of an Education Outreach platform. Nothing is more engaging to children than a robot that gives candy 🙂 On behalf of National Instruments, congratulations and thanks for sharing!
Thanks for the comment! There is no way we would have been able to complete this project without NI LabVIEW given the time constraints we had. NI makes fantastic products and we love using them!
I’m trying to program a Twister myself and have hit the same roadblocks you hit. If you have sample code, would you mind open-sourcing it or sending me a copy? If you have a copy of Zyrobot_ICP, I could use that as I see I need it but have no idea how to get it.
Zymark was bought by Caliper and my Zymark Twister (1) robot is so out of support I can’t get anything for it. Given ZyRobot_ICP, I’d probably get it done.